
Build Your First DevOps Lab - Part 3: Setting Up Your Ubuntu Node
- Aug 3, 2021
- 3 min read
Updated: Aug 4, 2021
What is Docker and its Advantages?
Docker, at its core, is a virtualization technology. But, if you have worked with other virtualization technology, such as hypervisors, Docker is quite different. Docker uses what are called containers that run on top of the host Operating System (OS). These containers are very lightweight and include only the software needed for the task at hand. Docker containers provide consistency in their deployments, having the same configuration each time given the same Dockerfile is used; A Dockerfile is a set of commands executed when a docker image is created. The ability to provide a consistent environment with a small footprint is extremely valuable in DevOps where the containers may have a short lifespan.
Node Overview and Configuration
The Ubuntu node in this configuration will be used as a host for Docker containers, as mentioned previously. Running Docker containers on a separate VM will alleviate some compute requirements on the Ubuntu Master VM. While Docker containers do not require a lot of compute, there is already a lot of components being installed on the Ubuntu Master VM.
We will go through the process of installing Docker and configuring SSH to allow connections from the Ubuntu master VM with Ansible. After configuring this node, you likely will not have to do much more on here manually as Ansible can take care of any further configurations remotely.
To configure the Ubuntu node with Docker, see below:
1. Login to Ubuntu Node VM with the configured user
2. Install Docker on Node
Allow apt to use a repository over HTTPS
sudo apt install apt-transport-https ca-certificates curl software-properties-common
Add the Docker GPG Key to the list of keys used by apt to authenticate packages
curl -fsSL https://download.docker.com/linux/ubuntu/gpg | sudo apt-key add -
Add Docker repository
sudo add-apt-repository "deb [arch=amd64] https://download.docker.com/linux/ubuntu bionic stable"
Update apt to make use of the new repository
sudo apt update
Install Docker on the Node
sudo apt-get install docker-ce -y
Add Ubuntu user to Docker group to be able to run the docker command without needing sudo
Note: If needed, update the username with the username in your environment
sudo gpasswd -a [username] docker
Check that the docker service is running
sudo systemctl status docker
3. Install Pip
Pip is used to install Python packages that can then be used, imported, when running python scripts or running commands directly from the Python prompt
sudo apt-get install python3-pip -y
4. Install docker-py to be able to deploy docker machines from Ansible
sudo pip3 install docker-py
5. Install Open SSH Server to allow SSH connections from the Ubuntu Master VM
sudo apt-get install openssh-server -y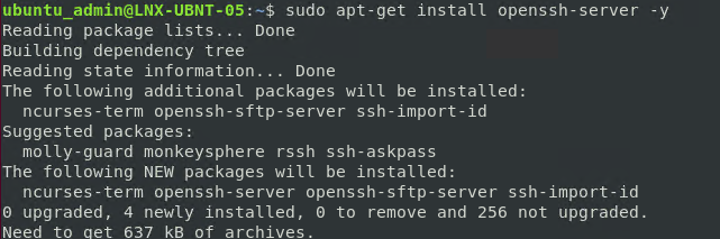
6. Update Authorized Keys file on Node with Public Keys from Master (These keys should have been copied to an external editor in the part 2)
Edit the authorized_keys file on the Node (This file will get created when running the below command)
Insert copied contents into a new line and save the file
sudo vi ~/.ssh/authorized_keys
7. On the Ubuntu Master VM, verify Ansible connectivity to the Ubuntu Node VM
ansible all -i /etc/ansible/inventory -m ping
Halfway There
If you have made it this far, you are halfway through the DevOps lab configuration. Congrats! In the following parts, we’ll take a look at Jira and Splunk.
Jira is a widely used tool to track issues with different projects for an organization. It helps with managing bugs/issues that may occur in the CI/CD pipeline.
Splunk, on the other hand, is a logging tool used by many organizations for gathering information from remote systems. Splunk doesn’t tie together with any of the other components that we configure in this lab build, but it is a great tool to learn nonetheless; however, you could integrate it with other products if you wanted to.


Comments